

Choose where to start
Use AI Agents for the guided setup. It checks your provider key, loads the provider’s available models, and prepares the gateway connection. Use Gateways when you want to create the gateway record first and configure its provider connection afterward. These are two separate ways to set up a gateway. Choose one; the AI Agents steps do not continue from the manual form.Review the organization gateway portfolio
Open Gateways to start on Overview. This account-level dashboard combines every gateway in the active organization that your project permissions allow you to list. Filter the same view by time window, project, provider, model, HTTP status, or gateway/project text. Its panels compare traffic, errors, tokens, latency, provider and model mix, project distribution, and gateway control coverage. Open the Gateways tab when you need the existing project selector, gateway inventory, and New gateway action. The dashboard does not change gateway scope or permissions; selecting a row still opens that gateway’s own management screen.Set up a gateway with AI Agents
This guided path sets up a provider connection and gateway together. Start here when you are ready to provide a provider API key.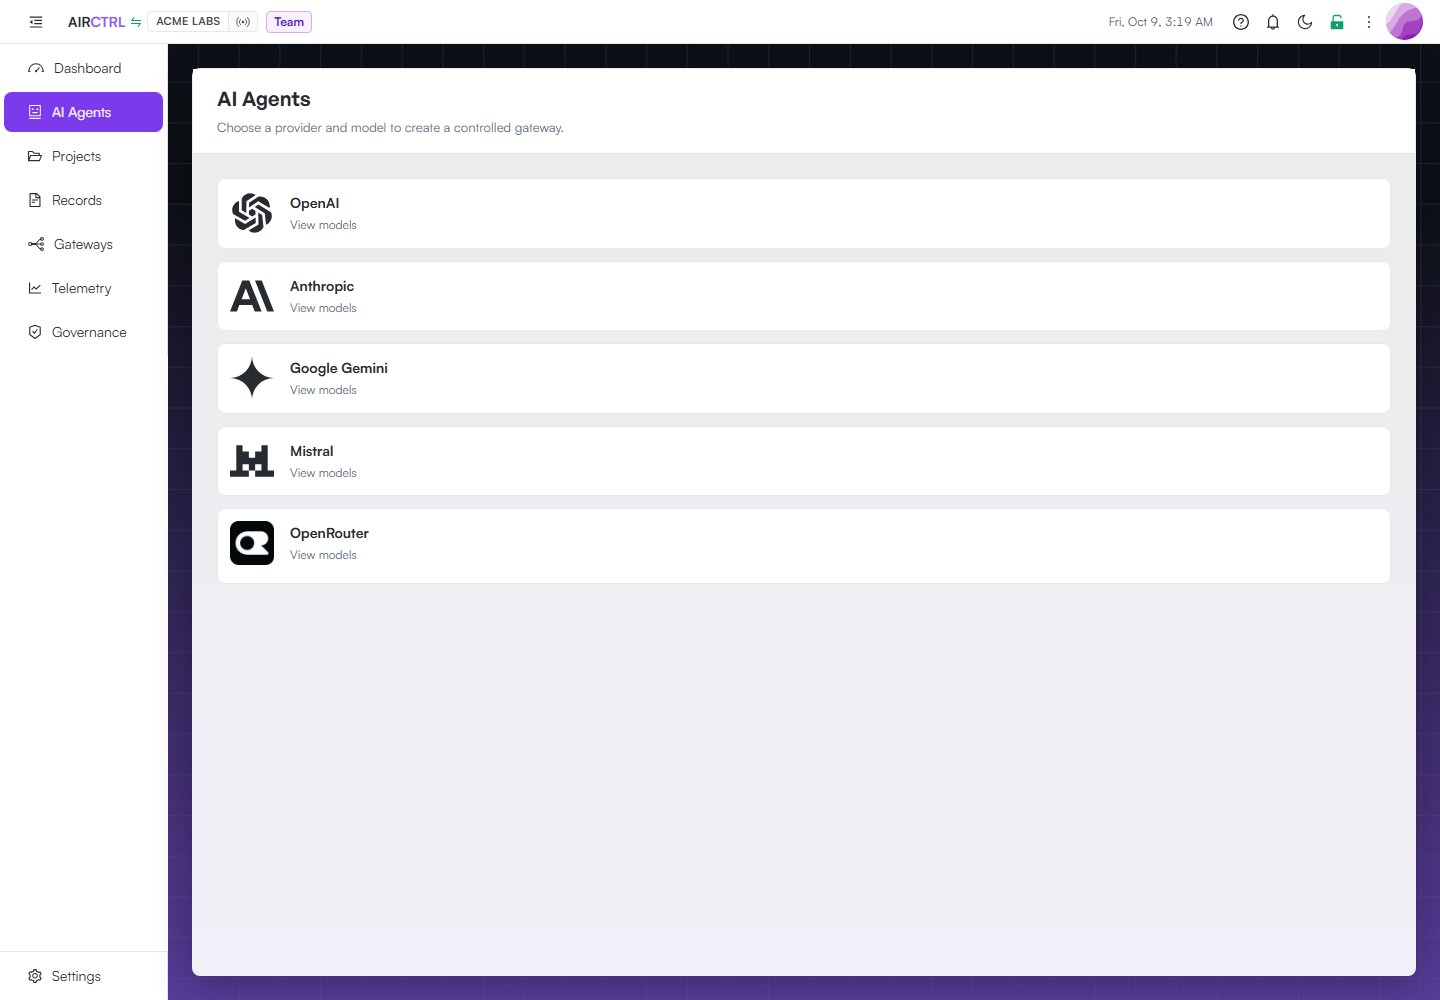
AI Agents starts the guided setup by asking you to choose a provider.
- Open AI Agents and choose the provider.
- Enter its key in Provider API key, then select Models. checks the key and loads the models available from that provider.
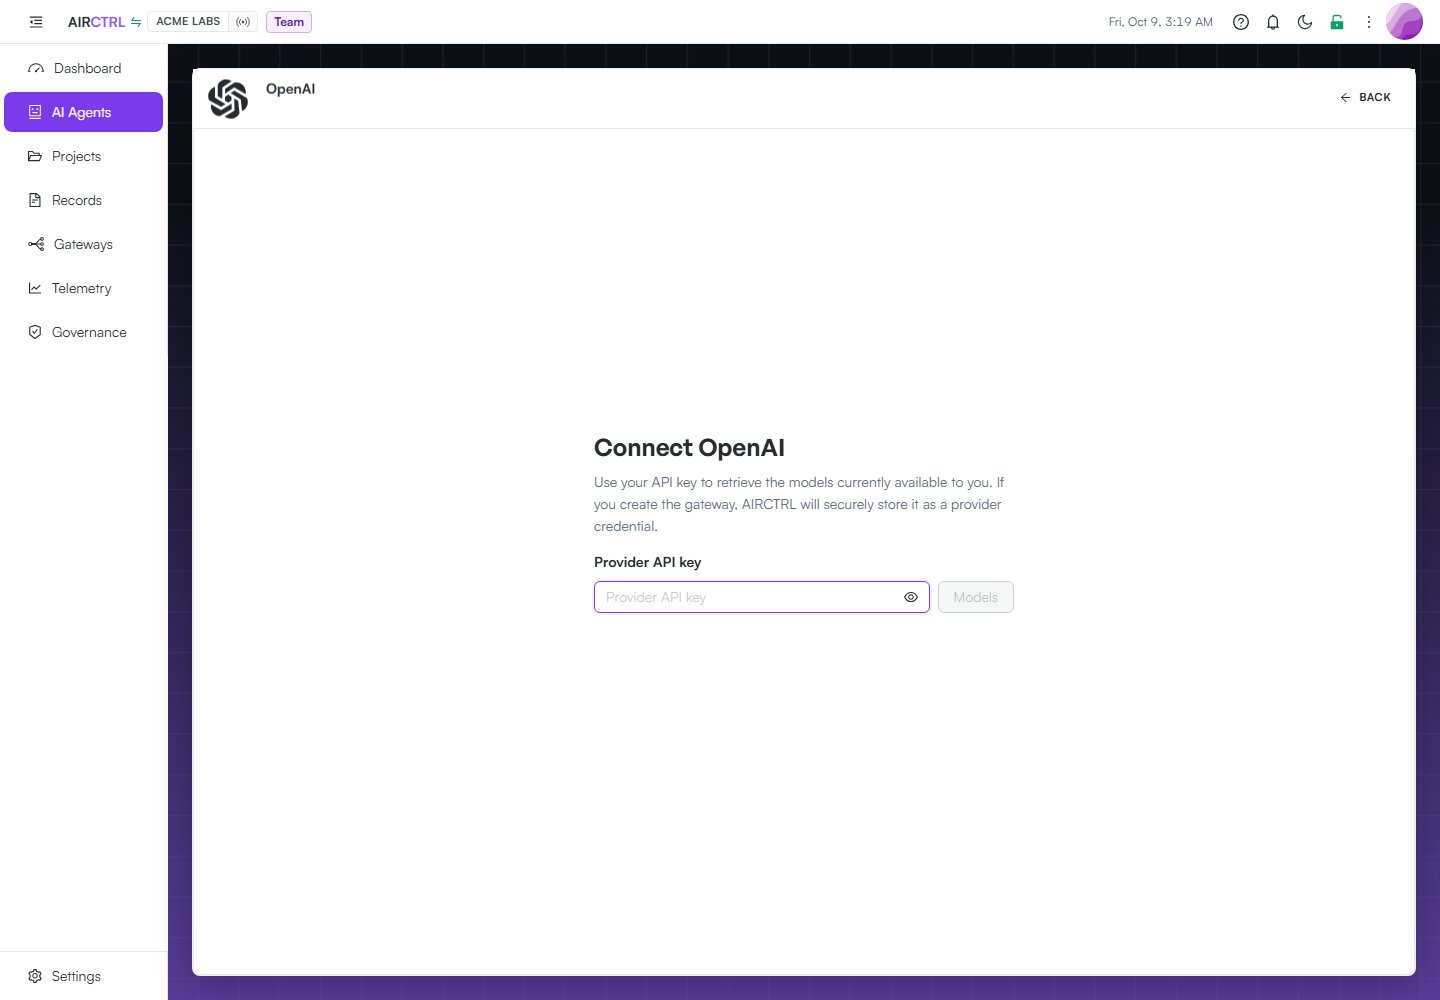
The provider key field starts empty. Models stays unavailable until a key is entered and checked.
- Search or filter the live catalog by support status and capability, then choose one or more supported models. Select all visible applies only to selectable models in the current filtered view; disabled or retired entries are never added. Models that the provider lists without enough routing metadata remain visible but disabled.
- Choose an existing project or create a new one for this gateway.
- Decide whether to add a management PAT. This is optional. You can create a new PAT, choose one you already have access to, or select None.
- Review the resource summary and confirm before anything is created.
What the guided setup creates
The confirmation screen lists the resources that will be created. The wizard creates the gateway, validates and stores the provider key once, binds every selected model to that credential, creates a gateway token, and saves an ENV connection record in the selected project. The record contains the gateway URL, gateway token, and selected models. It creates a project only if you chose New project and a PAT only if you chose to create one. If your Vault is locked, asks you to unlock it before saving the record. These credentials have different jobs:- Provider API key: lets the gateway use the provider. stores it encrypted and does not show it again.
- Gateway token: lets your application send model requests through the gateway. shows it once.
- Personal access token (PAT): optional. It authenticates requests to the product API, SDK, CLI, or MCP. It does not authorize model requests. If you skip it, you can still use in the web app and create a PAT later if you need tool access.
Create a gateway directly in Gateways
This separate path creates the gateway record first. It does not ask for a provider key or configure models.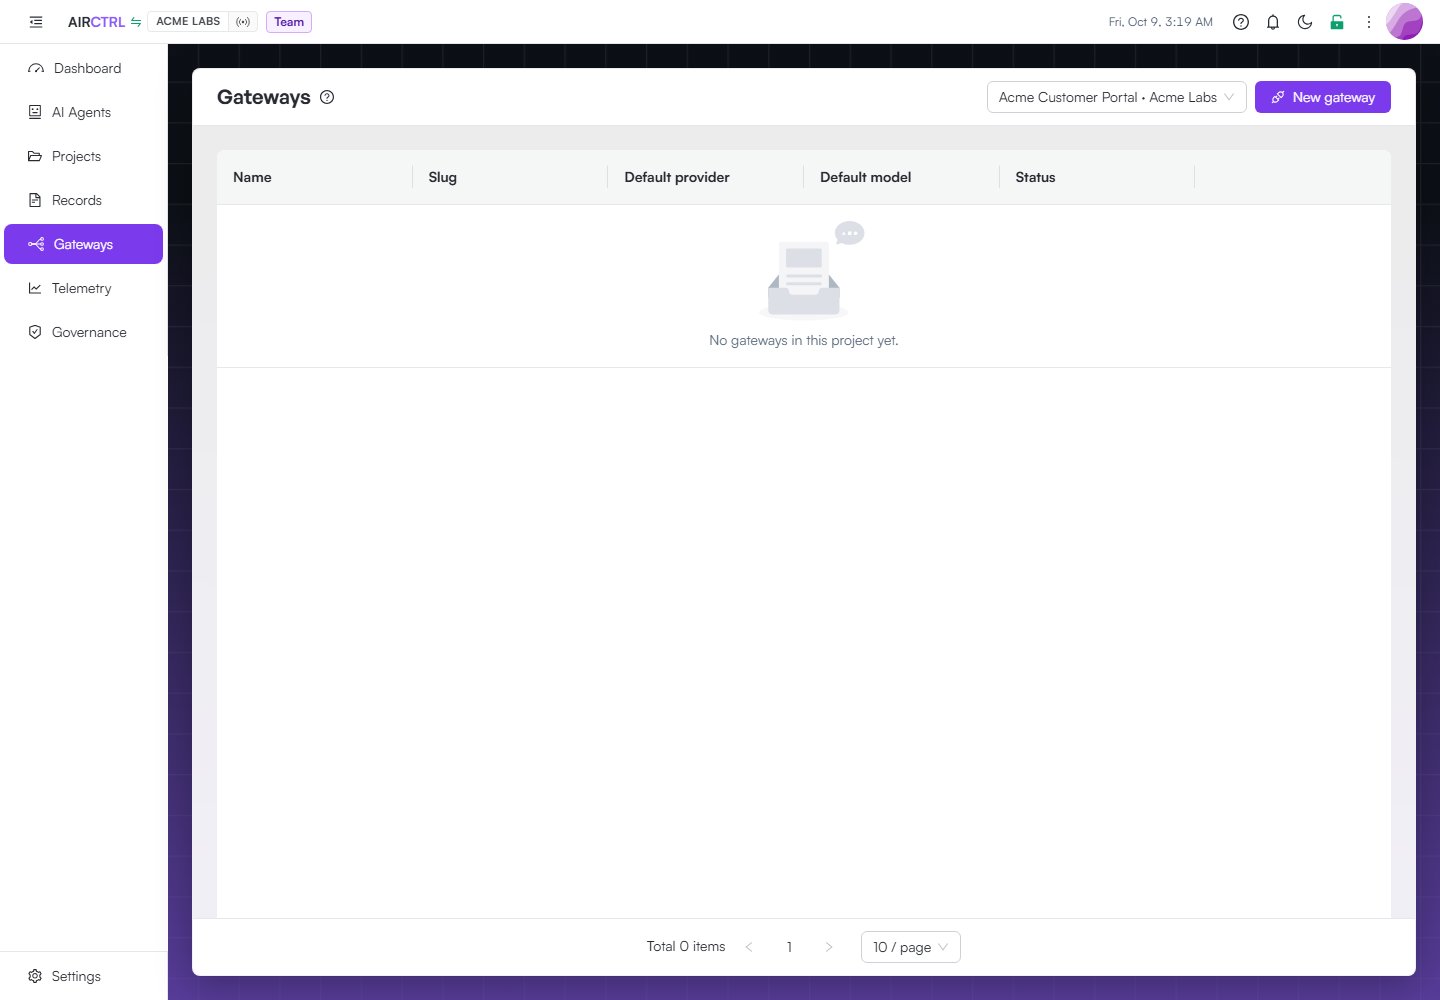
The Gateways page lists gateways in the selected project. This Acme project does not have one yet.
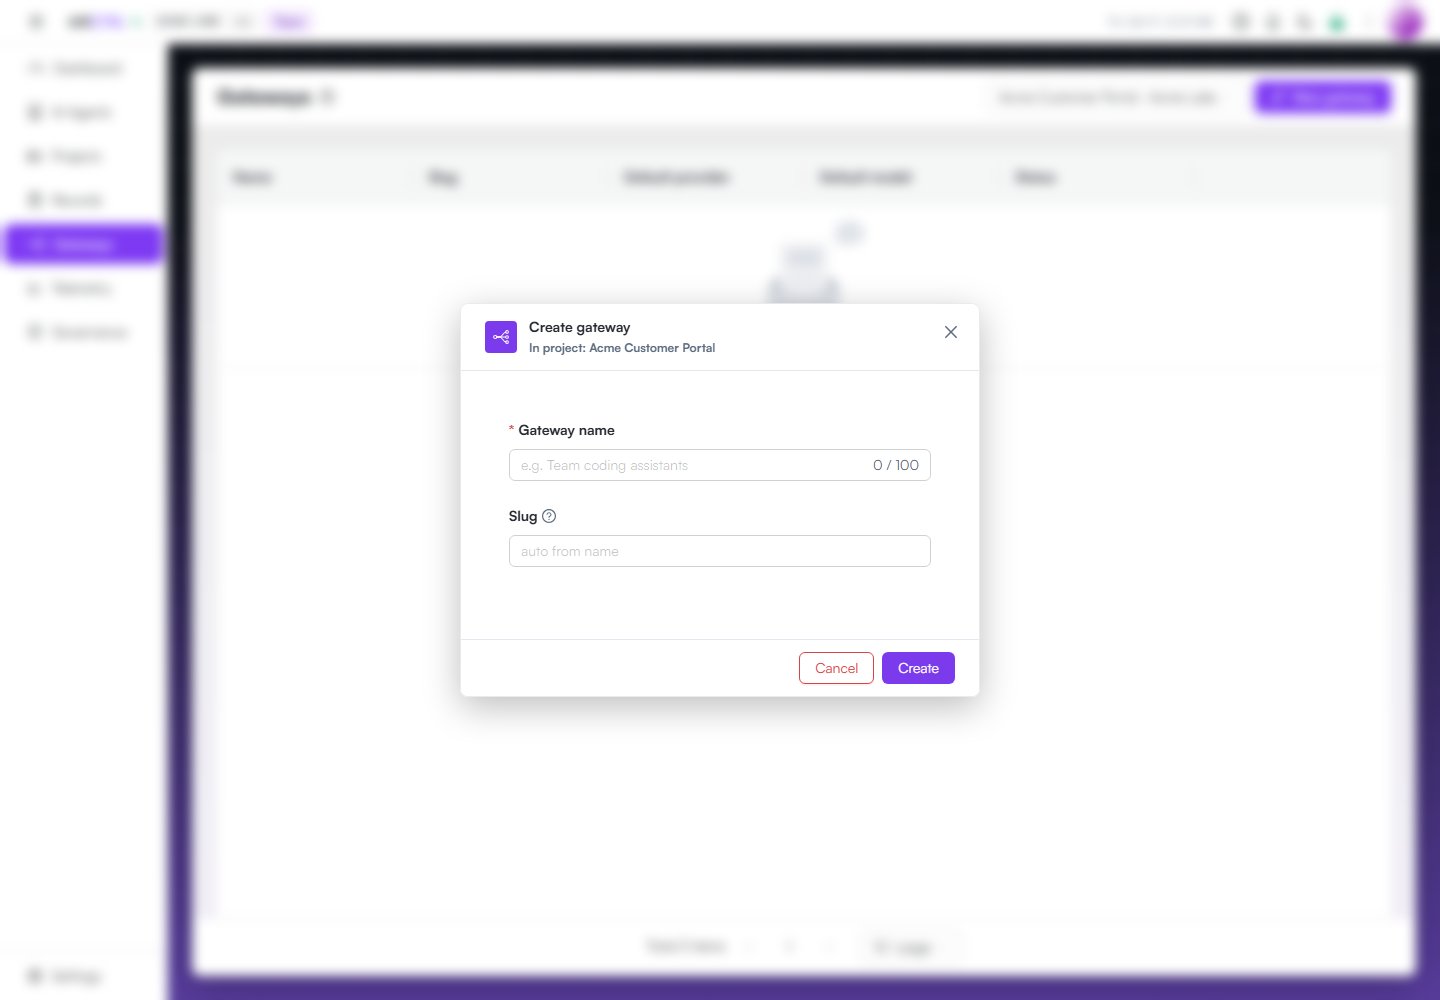
The manual form creates a gateway record. Its name is required; the slug can be filled in later or derived from the name.
HiTheo connections
HiTheo is available in both setup paths. Its native base is/gw/{gateway}/hitheo/v1; OpenAI-compatible
chat may also use /gw/{gateway}/compat. Supported live-catalog modes include chat/native completions,
vision, GenUI, code, image, video, research, and Browser. Video and research return a job and must be
polled through the poll_url. HiTheo models that lack a safe public mapping remain visible but
disabled; does not invent model IDs for documents, TTS, STT, or realtime voice.
Additional OpenAI-compatible providers
Groq, Novita AI, Atlas Cloud, and xAI are available in both setup paths. validates the key against each provider’s official model endpoint and loads the credential’s current catalog. The model list remains provider-authoritative. Capabilities that the catalog does not declare remain disabled instead of being inferred. Each model also shows the latest official price known to . Standard token prices are shown in USD per one million tokens. Provider-published zero prices and context-based tiers are labeled explicitly instead of appearing as missing prices. The daily pricing sync uses public provider sources; it does not consume your provider key or require to buy a provider plan. You need Project Admin or account Super Admin rights on the selected project to create a gateway. The account plan can also limit how many gateways you can create.Use the gateway dashboard
Open a gateway to start on Dashboard. Every panel is scoped to that gateway. The page includes request and error trends, error rate, latency percentiles, tokens, permitted spend, configured caps, top models, and top principals. Use the time-window, provider, model, and status filters to narrow every panel together. Users with View request bodies can also run full-text log searches from the dashboard and the Logs tab. Search covers request metadata and the redacted request/response bodies that were stored for that gateway. Requests created while Store request/response bodies was off cannot match body text. Search never reads another gateway and is unavailable without body-read permission. Gateway rate limiting is optional. A blank rate limit means unlimited, so new gateways are not restricted to 100 RPM. Set500 or a higher positive integer in Limits when you want an explicit
ceiling; does not impose a 500-RPM maximum.